Marble run mechanisms are ingenious contraptions that make your marble run more than a gravity-powered slide. They introduce exciting twists, turns, and challenges, transforming simple runs into captivating kinetic sculptures.
This article delves into the fascinating world of marble run mechanisms, starting with the basics for beginners and progressing to more advanced creations. We’ll explore different types of mechanisms, how they work, and how you can incorporate them into your designs to create a truly unique and engaging marble run experience.
Basic marble run mechanism for beginners
Embarking on your first marble run project is an exciting journey. You can create engaging tracks that provide endless entertainment by understanding and building fundamental mechanisms. Here’s a guide to some essential elements to get you started
Harnessing Gravity: Ramps and Slopes
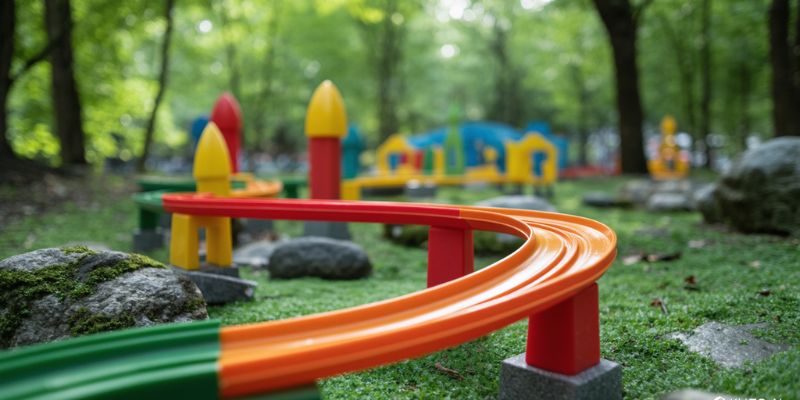
Ramps are the cornerstone of any marble run, providing the essential energy boost to set the marbles rolling. Tilting a surface at an angle creates a ramp that converts potential energy into kinetic energy as the marble rolls downward. Simple straight ramps increase speed, while curved ramps add excitement and control.
For a more dynamic track, combine multiple ramps at different heights. Ramps can be crafted from cardboard, wood, or plastic. Experiment with various angles to control speed and difficulty.
Guiding the Flow: Chutes and Funnels
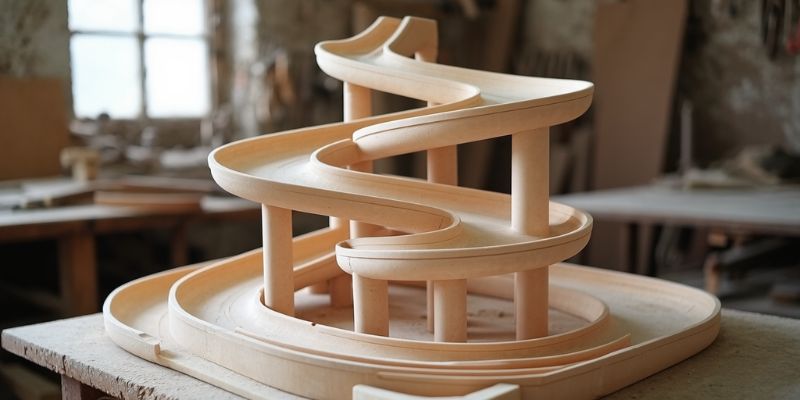
Chutes and funnels ensure marbles stay on course and reach their destination. Chutes are enclosed pathways that channel the marbles, while funnels create a bottleneck effect, adding suspense. Straight chutes direct marbles in a linear path, curved chutes introduce gentle turns, and spiral chutes create a mesmerizing downward spiral.
Funnels made from plastic cups, cardboard cones, or 3D-printed designs add an element of surprise. Using cardboard, plastic tubing, or rolled-up paper, you can craft chutes that keep the marbles moving smoothly
Adding Twists and Turns: Curves and Switches
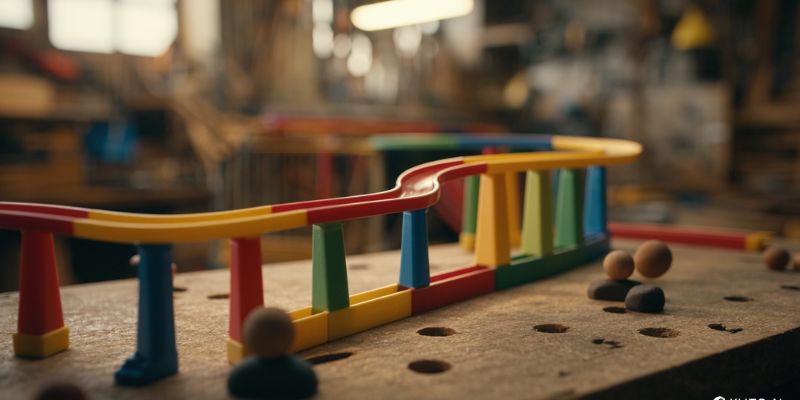
Curves and switches add complexity and excitement, changing the marble’s direction and introducing decision-making elements. Curves are bent in the track that alters the path, while switches allow marbles to choose between multiple routes. Gentle curves create smooth paths, hairpin turns require careful maneuvering, and Y-switches split the track into two. Crossover switches let marbles cross over or under other sections.
Curves can be made from cardboard, plastic tubing, or wooden dowels, and switches can be crafted from cardboard or wood, operating manually or automatically. Use switches strategically to create varied paths and enhance replay value.
Tips for Your Marble Run
Experiment with different ramp angles, combinations of chutes and funnels, and varied paths with curves and switches. Prioritize using materials you have on hand, such as cardboard, plastic bottles, and wood scraps. Most importantly, enjoy the creative process and let your imagination guide you in building a unique and captivating marble run.
By incorporating these fundamental mechanisms and allowing yourself to experiment, you can construct a fun marble run to build and play with. Embrace the journey and watch your marbles navigate your creative designs’ twists and turns.
Advanced marble run mechanism
Ready to take your marble run to the next level? If you’ve mastered the basics and are looking for more complex and exciting builds, it’s time to explore advanced mechanisms. These intricate designs are not only visually impressive but also showcase engineering ingenuity. Let’s dive into some fascinating mechanisms that can transform your marble run into a gravity-powered masterpiece.
Defying Gravity: Lifts and Elevators
Lifts and elevators are ingenious mechanisms that transport marbles back to the top of the track, ensuring continuous play. This eliminates manual resets and adds a perpetual motion element to your creation. Types of lifts you can incorporate include
- Chain Lift: A classic mechanism where a chain or belt gently carries marbles upwards.
- Archimedes’ Screw: A spiral channel that lifts marbles as it rotates.
- Bucket Elevator: Buckets attached to a rotating belt or chain scoop up marbles and transport them to higher levels.
Choosing Paths: Switches and Diverters
Switches and diverters add an element of choice and surprise, allowing marbles to select different paths and create multiple routes. This increases the replay value of your track.
- Y-Switch: This switch splits the track into two paths. You can add a lever to control which path the marble takes.
- Rotating Diverter: A spinning mechanism that redirects marbles based on their position.
- Flip-Flop Diverter: Alternates between two paths, sending each marble down a different route.
Creating Motion: Chain Reactions
Chain reactions are the epitome of complexity and creativity in marble runs. A single marble can trigger a cascade of events, demonstrating the power of cause and effect.
- Domino Effect: Line up dominoes or other objects that topple when hit by a marble, creating a chain reaction
- Levers and Triggers: Use levers to activate gates, release additional marbles, or set off sound effects.
- Pulleys and Weights: Create systems where a marble’s weight triggers a pulley, lifting another marble or object.
Mechanical Sophistication: Gears, Cams, and More
For those seeking the ultimate challenge, mechanical mechanisms add high complexity and sophistication to your marble run.
- Gears: Transfer motion and change speed or direction. Combining gears of different sizes can control various aspects of your track.
- Cams: Specially shaped pieces that create oscillating or reciprocating motion, helpful in opening gates or moving platforms.
- Ratchets: Allow motion in one direction while preventing it in the other; ideal for elevators or lifts requiring controlled movement.
Adding Personality: Themed Mechanisms
Incorporate themed mechanisms to add personality and creativity to your track, making it functional and visually engaging.
- Pirate Ship Cannon: Launch marbles with a spring-loaded cannon.
- Medieval Castle Drawbridge: Create a drawbridge that lowers when a marble triggers a switch.
- Waterfall Wheel: Use a water wheel to power a lift or other mechanism.
- Jungle Zipline: Send marbles soaring on a zipline made from string or wire.
By integrating these advanced mechanisms, you can craft a unique and captivating marble run that amazes builders and viewers. Let your imagination run wild and create a masterpiece that showcases the endless possibilities of marble-run engineering.
Building Marble Run Mechanisms
Ready to elevate your marble run from a simple track to a dynamic, interactive marvel? By integrating a variety of mechanisms, you can create a thrilling experience where marbles race against gravity, trigger exciting events, and navigate intricate paths. Let’s explore how to unleash the full potential of your creations.
Essential Tools and Materials
Before diving into specific mechanisms, ensure you have the necessary tools and materials
- Essential Tools: Scissors, craft knife (with adult supervision), ruler, pencil, and hot glue gun (with adult supervision).
- Building Materials: Cardboard tubes, cardboard sheets, wooden dowels, popsicle sticks, straws, string, rubber bands, bottle caps, and other household items.
- Optional Components: Small motors, gears, pulleys, switches, LEDs, and other electronic components for more advanced builds.
Building Basic Mechanisms
Ramps: Cut cardboard tubes in half lengthwise to form essential ramps. Adjust the ramp angles to control marble speed and experiment with various lengths and curves to create more complex paths.
Funnels: Create a simple funnel by cutting the bottom off a plastic cup, or use cardboard for larger or more elaborate designs. Position these funnels to create bottlenecks and add excitement to the race.
Chutes: Roll-up cardboard or plastic tubing can form enclosed pathways for marbles. Vary the lengths and curvatures to guide the marble’s movement effectively.
Spinners: Attach a cardboard circle or an old CD to a dowel or skewer, securing it to the track so it spins freely when a marble hits it. This adds an element of surprise.
Creating Advanced Mechanisms
Lifts and Elevators: Construct a pulley system with string and weights to lift marbles back to the top of the track. Alternatively, a chain lift can be built using a continuous loop of string or a conveyor belt. An Archimedes’ screw, made with a spiral tube, can also transport marbles upwards.
Switches and Diverters: Design a Y-shaped switch from cardboard or wood to create dual paths for marbles. Add a lever or button for manual control, or experiment with automatic switches triggered by the marbles.
Chain Reactions: Set up a domino effect by lining up dominoes that a rolling marble can knock over. Use a marble to activate a lever that releases another marble, creating a cascading chain reaction. Combine multiple mechanisms for complex and surprising outcomes.
Tips and Tricks
Start Simple: Begin with basic mechanisms and gradually increase complexity.
Test and Iterate: Regularly test your mechanisms with marbles to ensure smooth operation and make necessary adjustments.
Plan Ahead: Consider how different mechanisms interact to create a cohesive and exciting marble run.
Get Inspired: Seek inspiration from other builders online, in books, or from real-world machines and contraptions.
By integrating these advanced mechanisms into your marble run, you can craft a unique and captivating experience. The possibilities are endless, so let your creativity and engineering skills flourish as you design your next gravity-powered masterpiece.
Tips for designing and building with marble run mechanism
Creating a mesmerizing marble run that functions flawlessly and delivers endless excitement requires a thoughtful approach to design and implementation. Here are some expert tips to guide you on your path to marble run mastery
Planning is Key
Before you dive into the building, take some time to plan your design. Sketch out your track on paper or use a digital tool to visualize the layout, identify potential issues, and plan the placement of your mechanisms. Consider how each mechanism will work and interact with other track elements. Ensure that marbles have enough momentum to clear jumps and that lifts can handle multiple marbles. If you have a theme, think about how your mechanisms can enhance it
For instance, a pirate ship theme might feature a cannon that launches marbles, while a space station could have a gravity-defying elevator.
Material Selection
Choosing the right materials is crucial for building a sturdy, smooth-running marble run. Opt for strong materials like wood, metal, or thick cardboard for the base and support structures. Use smooth, low-friction materials such as plastic or polished wood for track elements where marbles need to maintain speed.
Some mechanisms, like switches and diverters, require flexibility, so consider using cardboard, foam board, or thin plastic sheets for these parts.
Precision and Accuracy
Accurate measurements are essential to ensure your mechanisms function correctly. Use a ruler or measuring tape to carefully measure and cut your materials. Test your mechanisms frequently and make adjustments as needed to refine your design.
Ensure all connections are secure using strong adhesives like hot or wood glue. Loose or wobbly parts can cause marbles to derail or get stuck
Balancing Complexity and Functionality
If you’re new to building marble runs, start with simple mechanisms like ramps, curves, and funnels. As you gain experience, you can gradually add more complex elements. Avoid the temptation to pack your track with too many mechanisms, leading to malfunctions and frustration. Instead, choose key mechanisms that complement each other and create a cohesive experience. Consider how easy it will be to access and repair each mechanism before integrating it into your track.
Safety First
Safety is paramount when building and playing with marble runs. Sand or file down any rough edges on your materials to prevent marbles from getting damaged or causing injuries. Ensure all parts are securely attached to prevent them from coming loose during play. Avoid small parts that could be choking hazards if young children use the marble run. Always supervise children during building and playtime.
By following these tips and letting your creativity guide you, you can design and build marble run mechanisms that are both functional and visually stunning. Your creations will entertain and inspire wonder and appreciation for engineering’s ingenuity.